Doing your own manicure at home can save time and money, but it can also go wrong quickly if you use the wrong tools or skip important steps. A good home nail kit gives you control, but only if you choose it wisely and use it with care. This guide covers what to look for in a home nail kit, how to make your manicure last, how mini sanding bands can personalise your hand and foot care, how to prevent nail damage, and how to maintain your tools.
Key Factors When Buying a Home Nail Kit
The first rule is quality over quantity. A kit with twenty cheap tools is less useful than a kit with six well-made ones. Look for stainless steel tools such as cuticle pushers, nippers, and clippers. Stainless steel resists rust, holds a sharp edge, and can be disinfected properly.
Check the lamp if you plan to use gel polish. It should match the gel brand you intend to use. A weak or incompatible lamp leaves gel under-cured, which causes lifting and peeling. LED lamps cure faster and last longer than UV lamps, but they only work with LED-compatible gels.
Look for a kit that includes essential consumables: lint-free wipes, nail files in different grits, buffers, cuticle oil, and a cleanup brush. If you want to shape and smooth safely, include fine-grit files (180–240) and a buffer block. If you plan to use an electric file, make sure it has adjustable speed and forward/reverse rotation. Mini sanding bands are also worth adding, especially if you want precision work around cuticles, sidewalls, and small nail beds.
Consider ergonomics. Tools should feel balanced and comfortable in your hand. If a tool feels flimsy or sharp in the wrong way, do not buy it. Also think about storage. A clean, dry case keeps tools organised and protects them from dust and damage. Finally, check that replacement parts—files, sanding bands, lamp bulbs—are easy to find. A kit you cannot refill is a kit you will replace too soon.

How to Make Your Home Manicure Last Longer?
Long wear starts with preparation. Remove old polish, shape the nails, push back cuticles gently, and lightly buff the surface to remove shine. Do not over-buff. Remove all dust, then wipe each nail with a dehydrator or 91% isopropyl alcohol. After this step, do not touch your nails. Finger oils transfer instantly and weaken adhesion.
Apply a thin base coat and cap the free edge. Apply colour in two or three thin layers, not one thick layer. Thin layers cure evenly and chip less. Keep gel or polish off the skin. If product touches the cuticle or sidewalls, clean it up before curing or drying. Cap the free edge with every layer—base, colour, and top coat. This seals the tip and prevents water from seeping underneath.
Cure gel fully according to the manufacturer’s instructions. Do not guess. If the gel feels soft or sticky after curing, it is under-cured. Finish with a high-quality top coat. After your manicure, apply cuticle oil daily. Wear gloves for dishwashing and cleaning. Avoid using your nails as tools. If a small chip appears, file it smooth and seal it with top coat. These habits can add days or even weeks to your manicure.
How Mini Sanding Bands Meet Personalised Hand and Foot Care Needs?
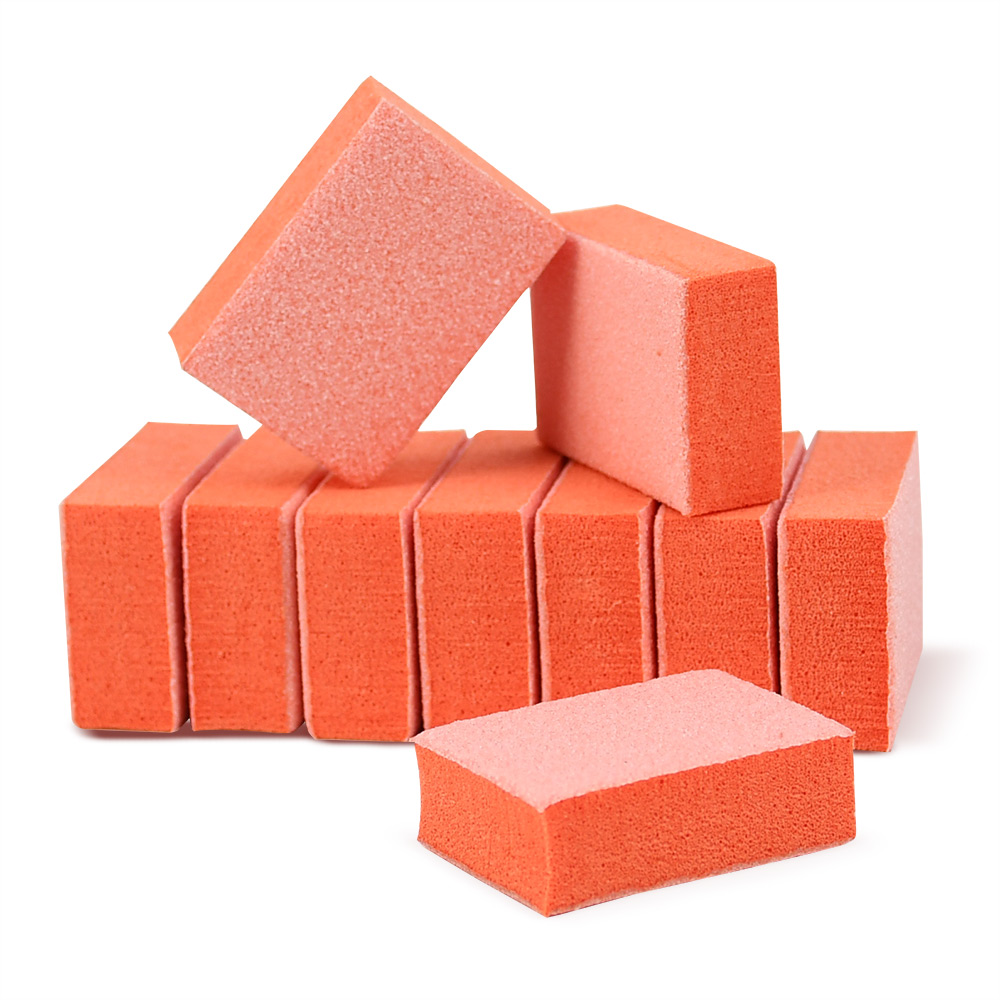
Mini sanding bands are small abrasive sleeves that fit on a mandrel bit for an electric file. Their smaller diameter makes them ideal for precise work. Standard bands are too wide for tight areas, but mini bands can reach sidewalls, cuticle edges, and narrow nail beds without touching the skin.
They come in different grits. Fine grit (180–240) is safe for natural nail prep and gentle smoothing. Medium grit (120–150) works for removing gel polish and refining shapes. Coarse grit (80–100) is for heavy product removal, not for natural nails.
For hands, mini sanding bands help clean up dead cuticle tissue, smooth the nail surface before gel, and refine the free edge. For feet, they help smooth calluses, clean around toenail edges, and prepare thick nails for polish or gel. Because they are disposable, they also support good hygiene. You use one band per client or per session and then discard it. This reduces cross-contamination and keeps your kit clean.
To use them safely, keep the e-file speed low—around 5,000–10,000 RPM for natural nails. Use light pressure. Keep the band moving at all times. Never stop in one spot. Always choose the finest grit that will do the job. Mini sanding bands are not a replacement for professional nail supplies, but they add precision and control that larger tools cannot match.
Tips to Prevent Nail Damage When Using a Home Kit
Never use coarse files or coarse sanding bands on natural nails. They thin the nail plate and create grooves. Use fine grit instead.
Never cut living cuticles. Push them back gently. Only trim loose, dead skin. Cutting living tissue can cause infection and permanent nail damage.
Never peel off gel or acrylic. Peeling strips layers off your natural nail. Always use the proper removal method. For gel, file the top coat, soak cotton in pure acetone, wrap with foil, wait 10–15 minutes, and gently push off the softened product.
Keep the e-file moving. Holding a bit in one place creates heat and can burn the nail bed. Use low speed and light pressure. Do not press down.
Take breaks between enhancements. Give your natural nails a few days of bare, oiled rest every month. Apply cuticle oil daily. Keep nails short while they recover. If you feel pain, stop. Pain is a warning sign.
How to Maintain Your Home Nail Tools?
Clean tools after every use. Wash metal tools with warm soapy water, dry them thoroughly, then wipe with rubbing alcohol or a disinfectant. Do not store them wet. Rust ruins sharp edges
Replace disposable items often. Files, buffers, sanding bands, and wooden sticks are single-use for hygiene. Do not reuse them on different people.
Clean your e-file bits. Remove dust with a wire brush. Disinfect metal bits according to the manufacturer’s instructions. Replace dull or damaged bits. A dull bit creates heat and does not cut smoothly.
Store everything in a dry, closed case. Keep gel polish and base coats in a cool, dark place. Heat and sunlight can thicken or cure products in the bottle. Check your lamp. Replace bulbs or the lamp itself when curing becomes slow or uneven.
The Bottom Line
A good home manicure is not about having the most tools. It is about having the right ones, using them correctly, and caring for them properly. Choose a kit with quality stainless steel tools, a compatible lamp, fine-grit files, and mini sanding bands for precision. Prepare your nails thoroughly, apply thin layers, cure fully, and protect your hands. Use tools gently and keep them clean. With these habits, you can enjoy salon-quality nails at home without damaging your natural nails.
Read also: 2026 Nail Trends: The Rise of Baby Boomer, Chrome, and the Return to Healthy Nails