Healthy, well-groomed nails often start with one overlooked detail: the cuticles. These small bands of skin at the base of your nails are more than just a cosmetic concern. Proper cuticle care is a cornerstone of nail health. Pushing them back, rather than aggressively cutting them, is the recommended practice. This guide explores the why, how, and what to avoid in safe cuticle maintenance.
Why Push Your Cuticles Back?
The primary reason is health, not just aesthetics. Cuticles act as a crucial seal, protecting the delicate nail matrix (where new nail cells are born) from bacteria, fungi, and moisture. Damaging this seal can lead to painful infections and hinder healthy nail growth.
Pushing them back gently serves two key purposes:
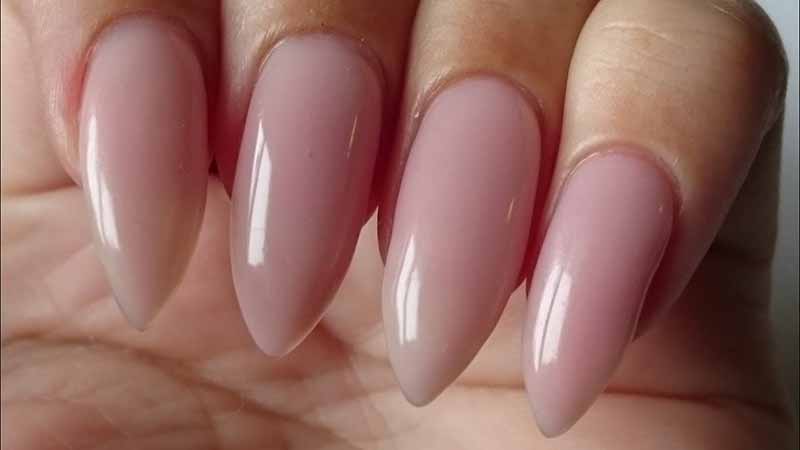
1. It allows your nails to appear longer and neater by exposing the full nail plate.
2. It prevents cuticles from becoming overgrown, dry, and prone to peeling or developing painful hangnails. Regular, gentle care keeps this protective barrier intact and functional.
Tools You Will Need
You don’t need a salon-full of equipment. The essentials are simple:
- Cuticle Remover: A gentle, alkaline liquid or cream that softens the cuticle, making it easier to push back without force.
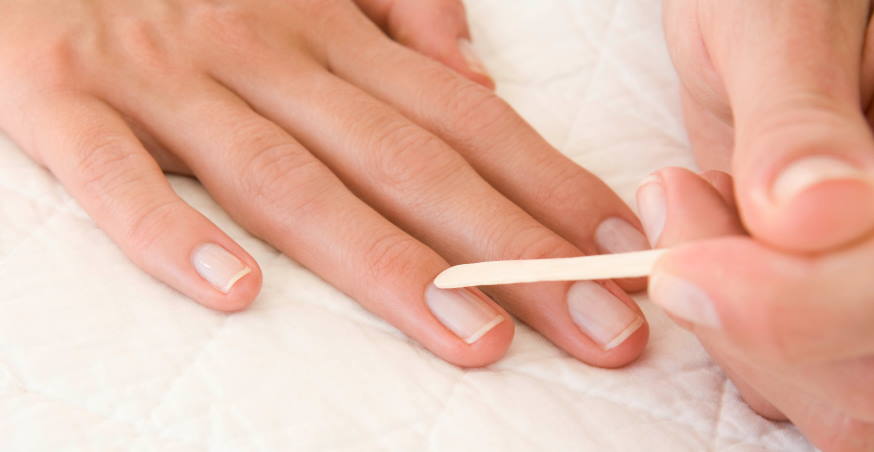
- Orange Wood Stick or Cuticle Pusher: Wooden sticks are gentle and disposable. Metal or glass pushers are more durable but must be used with a lighter touch.
- Nail Brush: For cleaning away softened cuticle debris.
- Nourishing Oil or Cream: A quality cuticle oil (jojoba, vitamin E) or thick hand cream is non-negotiable for aftercare.
- Warm, Soapy Water: For an initial soak to soften the skin.
The Step-by-Step Process
1. Soften: Begin with clean hands. Soak your fingertips in warm, soapy water for 3-5 minutes. Pat dry.
2. Apply Remover: Follow the product instructions. Apply a small amount of cuticle remover to the base of each nail and let it sit for the recommended time (usually 30-60 seconds).
3. Gently Push: Using your orange wood stick or pusher, gently nudge the softened cuticle skin back toward the finger. Use a rolling motion. The goal is to loosen the dead skin cells attached to the nail plate—not to shove the living skin. Work in small, careful sections.
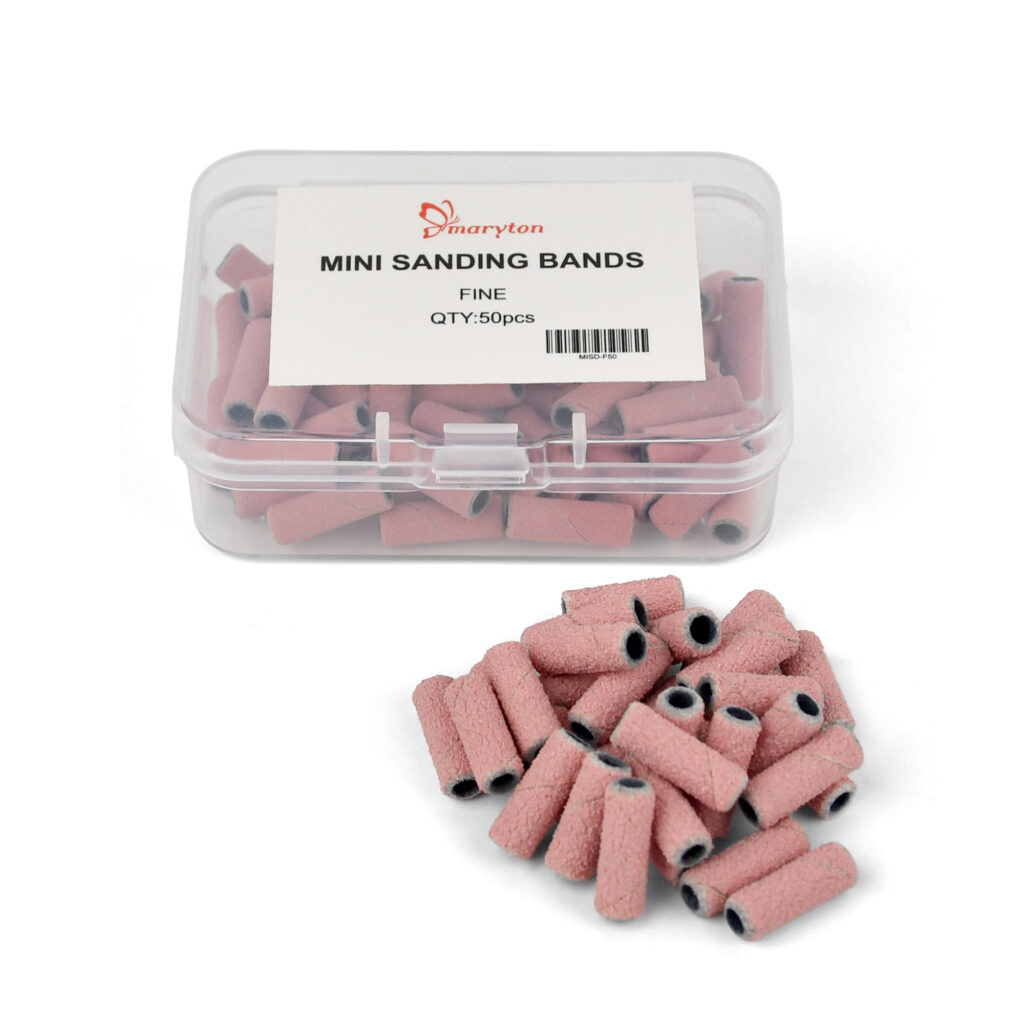
4. Clean Up: Use the nail brush under running water to whisk away any residue. You may gently lift away any clearly dead, peeling skin with the sanding bands, but do not cut.
5. Hydrate Thoroughly: Massage a generous amount of cuticle oil or cream into each nail base and the surrounding skin. This rehydrates the area you’ve just worked on.
Aftercare is Key
Pushing your cuticles is a form of exfoliation; they need moisture afterward. Make hydration a daily habit. Apply oil or cream every night, and after washing your hands. Before bed, apply a heavier cream and wear cotton gloves for deep treatment. Consistent moisture keeps cuticles pliable, prevents cracking, and maintains that healthy seal.
Common Mistakes to Avoid
- Never Cut Live, Unsoftened Cuticles: Using nippers on dry, unsoftened skin is the top cause of damage, infection, and ragged growth. Reserve cutting for a professional or avoid it entirely.
- Avoid Over-Pushing: Do not push back with excessive force or too frequently (once a week is ample). You risk damaging the nail matrix.
- Skip the Harsh Tools: Avoid metal pushers with sharp edges or using excessive pressure. The goal is gentle persuasion, not excavation.
- Don’t Skip the Oil: Neglecting aftercare defeats the purpose and leads to dry, problematic cuticles.
- Never Rip or Bite: Tearing hangnails or biting cuticles severely compromises the protective barrier.
In conclusion, cuticle care is a simple yet vital ritual. By understanding their protective role, using the right tools gently, and committing to diligent hydration, you can maintain healthy, resilient cuticles that form the perfect foundation for strong, beautiful nails. Remember: gentle pushing and generous oiling are the secrets to success.
Read also: What homemade foot care should you use?