Let me tell you a secret: my most glamorous manicure moments have happened in my car at a red light.
Not at a salon. Not with expensive gels. With self-adhesive false nails from a drugstore, applied while waiting for the light to change.
I used to think press-on nails were for teenagers or emergencies. Then I spent a year talking to nail technicians and beauty buyers, and I realized something: self-adhesive nails have changed. What used to be “cheap and temporary” is now a legitimate beauty option—even for professionals.
Here’s everything I wish someone had told me about choosing, applying, and keeping them looking natural.
Why Choose Self-Adhesive False Nails?
Three years ago, I interviewed Sarah, a bridal stylist in New York who does makeup for 40+ weddings a year. I asked her what she tells brides about nails. Her answer surprised me:
*”Half my brides wear self-adhesive nails now. They test the shape weeks before, then pop on fresh ones the morning of the wedding. No drying time, no chips, no salon appointments at 7 AM.”*
Here’s why they’ve become a legit option:
Time is the big one. A full salon manicure takes an hour. Self-adhesive nails? Five minutes. Maybe ten if you’re being precious about it.
Money matters too. A decent set costs $8-15. Compare that to $40-60 at a salon plus tip. The math gets obvious fast.
Your natural nails stay healthy. No UV lamps, no drills, no harsh chemicals soaking in. Just adhesive tabs or glue that comes off when you’re ready.
You can change them like outfits. Red for Monday’s meeting, neutral for Wednesday’s date, wild prints for the weekend. Your nail color can match your mood without commitment.

The Three Types of Self-Adhesive Nails
Not all press-ons are created equal. Here’s what’s out there:
1. Adhesive tab nails
These come with sticky tabs already attached or included. You peel, stick, press, done.
Best for: Beginners, one-night events, people who change nails constantly. They last 1-3 days with proper application.
The catch: They pop off if you’re rough with your hands. Not ideal for dishwashing or heavy typing.
2. Glue-on nails
You apply nail glue to your natural nail and the false nail, then press together. Stronger hold, longer wear.
Best for: Vacations, week-long wear, anyone who hates reapplying.
The catch: Removal requires soaking in acetone. If you’re impatient, you’ll damage your natural nails prying them off.
3. Hybrid options
Some brands now offer “glue gel” tabs—thicker adhesive that’s stronger than regular tabs but gentler than liquid glue. They’re newer to the market but worth trying.
Best for: The middle ground—longer wear without full glue commitment.
How to Apply Self-Adhesive Nails Naturally?
Here’s where most beginners mess up. They open the package and stick them on. Then wonder why they look fake and fall off by dinner.
The secret is preparation. Every time.
Step 1: Prep your natural nails
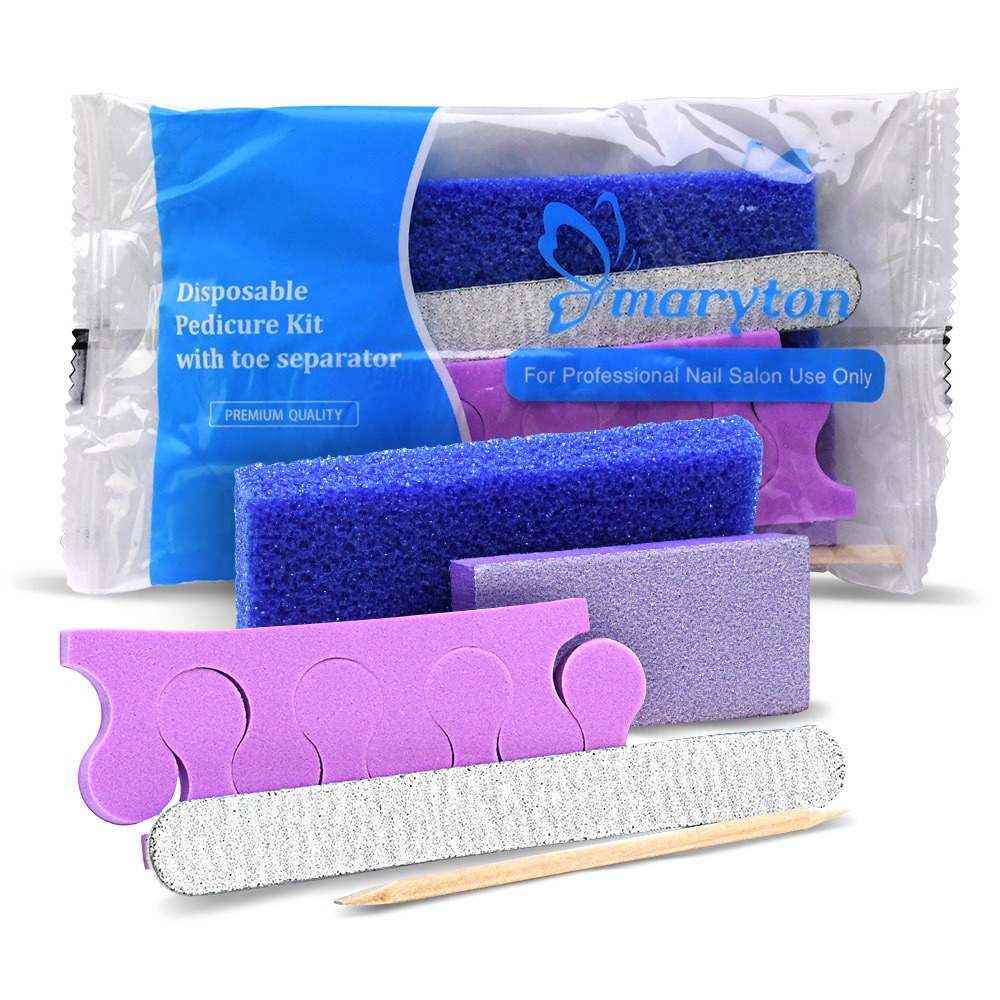
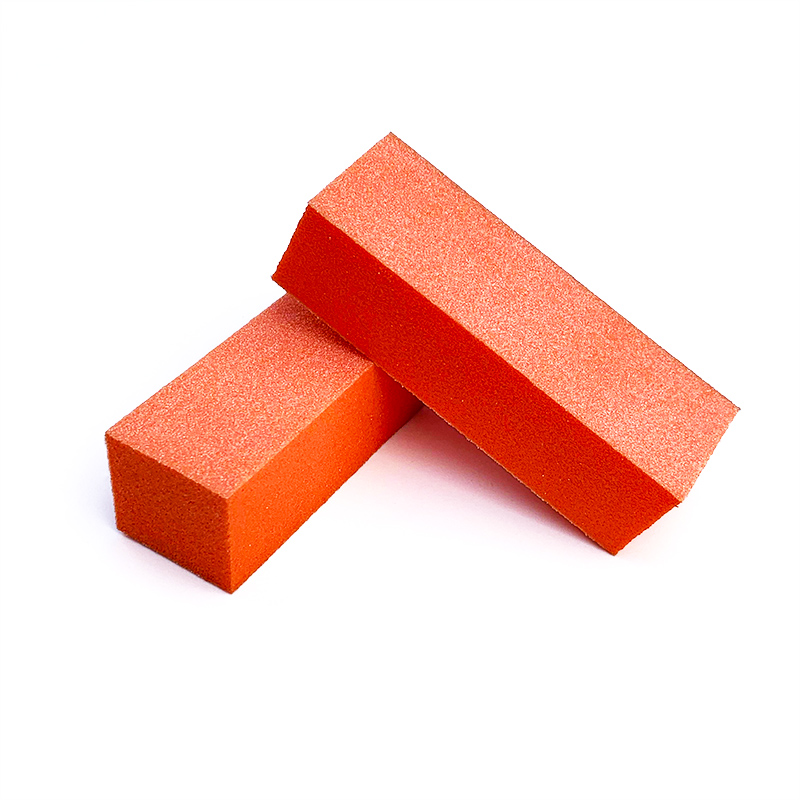
Push back your cuticles gently. Buff the nail surface lightly with a buffing block. Wipe with rubbing alcohol on a cotton pad. Your nails should be completely clean and dry. No oil, no lotion, no residue.
Skipping this step guarantees failure. The adhesive needs a clean, dry surface to grab onto.
Step 2: Find your matches
Lay out all the false nails and match them to your fingers. Most people’s nails differ slightly between hands. Label them if you need to—left pinky, right thumb, whatever works.
Step 3: Apply adhesive
If using tabs: stick the tab to your natural nail first, press firmly, then remove the protective cover and press the false nail on.
If using glue: apply a thin layer to your natural nail, a thin layer to the false nail, wait 10 seconds until tacky, then press together firmly for 30 seconds.
Step 4: Press and hold
Here’s the important part: press down for a full 30 seconds per nail. Not five. Not ten. Thirty. The bond strengthens with pressure and heat.
Step 5: Avoid water for an hour
The adhesive needs time to cure fully. Give it an hour before washing hands, showering, or doing dishes.
How to Make Them Last Longer?
A manicurist in Los Angeles named David taught me this trick: “Treat them like expensive shoes. You wouldn’t hike in heels. Don’t do heavy lifting in press-ons.”
Here’s what helps:
Keep them dry at first. Water is the enemy of fresh adhesive. Wear gloves for dishes. Be careful in the shower.
Oil around, not on. Cuticle oil keeps your natural nails healthy, but oil near the edges loosens the bond. Apply carefully.
Carry backup. I keep one or two spares in my bag. If a nail pops off, I clean the old tab off both surfaces and reapply with a fresh tab. Takes two minutes.
Remove properly. For tab nails: gently lift from the side with a wooden stick, never yank. For glue nails: soak in acetone for 10-15 minutes until they lift naturally. Peeling them off damages your natural nail.
Common Beginner Questions
Will people know they’re fake?
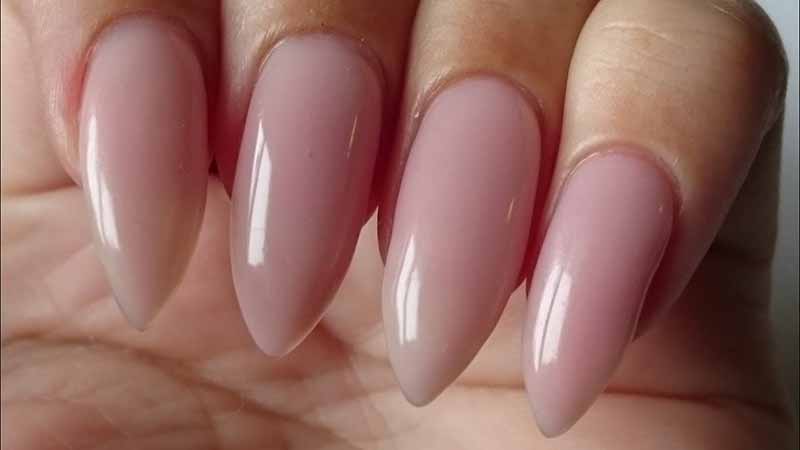
If sized and applied well, no. The key is choosing nails that match your natural nail shape and not going too long if you have short nail beds.
Can I reuse them?
Yes—if removed carefully and stored properly. Gently peel off old adhesive tabs, clean the inside with alcohol, and store in their original packaging. Most decent quality nails can be reused 2-3 times.
How long do they actually last?
Tabs: 1-3 days. Glue: 5-10 days with careful treatment. Hybrid: somewhere in between.
What about typing?
Shorter lengths work better for keyboards. If you type all day, stick to medium or short lengths.
The Bottom Line
Self-adhesive false nails have grown up. They’re no longer just for prom night emergencies or costume parties. When chosen well and applied properly, they give you salon-looking nails in minutes, without the salon price or time.
Your nails can match your outfit, your mood, or your Tuesday. And when you’re tired of them? They come off without damage.
That’s not a compromise. That’s freedom.
Read also: The Essential Guide to Cuticle Care: Why and How to Push Them Back